Gen AI –Part 4: Chat with your pdf: A hands-on tutorial
Welcome back to our series on building advanced chatbots!
In Part 3, we created a simple chatbot using the LLAMA2 model and the Streamlit framework. If you missed it, you can check it out below.
Today, we’ll take it a step further by integrating PDF documents into our chatbot, allowing it to answer questions based on the content of a PDF file.
This tutorial will introduce you to the concept of Retrieval-Augmented Generation (RAG) and how it can be used to create more knowledgeable and context-aware chatbots.
My blog series is open to all, if you are not a Medium member, Click here to read.
Why Chat with a PDF?
Imagine you have a lengthy PDF document — perhaps a research paper, a legal document, or a technical manual. You need to quickly find answers to specific questions, but manually searching through the document is tedious and time-consuming. This is where our PDF chatbot comes in handy.
By integrating a chatbot with PDF capabilities, you can:
- Ask questions directly about the content of the PDF
- Get relevant answers in seconds
- Save time on manual searches
- Enhance your understanding of complex documents
This technology can be incredibly useful for researchers, students, legal professionals, or anyone who frequently works with lengthy documents.
Prerequisites
Before diving in, make sure you have the following installed on your machine:
- Python 3.x
- Pip (Python’s package manager)
- A code editor or IDE (like Visual Studio Code or PyCharm)
- Ollama (for running LLaMA2 locally)
You’ll also need the following Python libraries:
- streamlit
- PyPDF2
- langchain_community
- sentence_transformers
- scikit-learn
- numpy
You can add these to your `requirements.txt` file.
streamlit
PyPDF2
langchain_community
sentence_transformers
scikit-learn
numpy
Now that we have a list of all the prerequisites, let’s get started.
Setting up the Project
Create a new project folder and add a `requirements.txt` file with the above dependencies. Install them using:
pip install -r requirements.txtImporting Necessary Modules
We’ll start by importing the necessary modules. Create a new file and name it ‘pdf_chatbot.py’
import PyPDF2
import streamlit as st
from langchain_community.llms import Ollama
from sentence_transformers import SentenceTransformer
from sklearn.metrics.pairwise import cosine_similarity
import numpy as np
Let’s break down what each of these libraries does:
- PyPDF2: This library allows us to read and manipulate PDF files in Python.
- streamlit: We use this to create a user-friendly web interface for our chatbot.
- langchain_community.llms: This provides an interface to use the Ollama LLM (Large Language Model).
- sentence_transformers: This library helps us create embeddings (vector representations) of our text.
- sklearn.metrics.pairwise: We use this for calculating cosine similarity between vectors.
- numpy: A fundamental package for scientific computing in Python.
Initializing Models
Next, we’ll initialize our language model (LLM) and our embedding model:
# Initialize the LLaMA model and sentence transformer
llm = Ollama(model="llama2")
embedding_model = SentenceTransformer('all-MiniLM-L6-v2')
Here, we’re using Ollama to run LLaMA2 locally. Check the Part 3 blog series if you need help setting up llama2.
We’re also initializing a Sentence Transformer model. This model will help us create vector embeddings of our text, which is crucial for our retrieval process.
Loading and Splitting the PDF
Now, let’s create a function to load our PDF and split it into manageable chunks:
# Load a PDF document and split it into pages
def load_pdf(file):
    reader = PyPDF2.PdfReader(file)
    chunks = []
    for page in reader.pages:
        text = page.extract_text()
        # Split text into chunks of roughly 1000 characters
        chunks.extend([text[i:i+1000] for i in range(0, len(text), 1000)])
    return chunks
This function does several things:
- It reads the PDF file using PyPDF2.
- It extracts the text from each page.
- It splits the text into chunks of about 1000 characters each.
Splitting the text into chunks is important because:
- It allows us to process long documents more efficiently.
- It helps in retrieving more relevant portions of the text when answering questions.
Vector Embeddings
Vector embeddings are a way to represent text data as numerical vectors. These vectors capture the semantic meaning of the text, allowing similar texts to be represented by vectors that are close to each other in the vector space. This is crucial for tasks like similarity search, where you want to find documents or sentences that are semantically similar to a given query.
Example: Generating Vector Embeddings with Sentence Transformers (Optional)
To better understand how vector embeddings work, let’s look at a simple example using the `sentence-transformers` library. This library provides a straightforward way to generate vector embeddings for sentences using pre-trained models.
# Import the SentenceTransformer model
from sentence_transformers import SentenceTransformer

# Initialize the model
model = SentenceTransformer('sentence-transformers/all-mpnet-base-v2')

# Define sample statements
statements = ["Artificial intelligence is revolutionizing the world.", "Machine learning is a subset of AI."]

# Generate embeddings for the statements
embeddings = model.encode(statements)

# Print the embeddings
print(embeddings)
The above code is just an example to understand vector embeddings and is not part of the pdf chatbot.
When you run this code, the output will be a NumPy array containing the vector embeddings for the input sentences. Each sentence is converted into a high-dimensional vector. The exact numbers in the vectors will vary depending on the model and its internal parameters, but they will look something like this:

Explanation of the Output:
- High-Dimensional Vectors: Each sentence is represented by a high-dimensional vector (e.g., a 768-dimensional vector for the
all-mpnet-base-v2model). The number of dimensions depends on the model you use. - Semantic Representation: These vectors capture the semantic meaning of the sentences. Sentences with similar meanings will have vectors that are close to each other in the vector space.
- Numerical Values: The numerical values in the vectors are the result of the model’s internal computations and represent different features of the sentences.
This example demonstrates how easy it is to generate vector embeddings for text data using the sentence-transformers library. These embeddings can then be used for various tasks such as similarity search, clustering, and more.
Now let's continue to build our app.
Creating Embeddings
Next, we’ll create a function to generate embeddings for our text chunks:
def create_embeddings(chunks):
    return embedding_model.encode(chunks)
This function uses our Sentence Transformer model to create vector embeddings for each chunk of text. These embeddings capture the semantic meaning of the text in a way that computers can understand and compare.
Finding Relevant Information
Now, we need a way to find the most relevant chunk of text for a given query:
def find_most_relevant_chunk(query, chunks, chunk_embeddings):
    query_embedding = embedding_model.encode([query])[0]
    similarities = cosine_similarity([query_embedding], chunk_embeddings)[0]
    most_relevant_idx = np.argmax(similarities)
    return chunks[most_relevant_idx]
This function does the following:
- It creates an embedding for the user’s query.
- It calculates the cosine similarity between the query embedding and all chunk embeddings.
- It finds the chunk with the highest similarity score.
- It returns the most relevant chunk of text.
Cosine similarity is a measure of similarity between two vectors. In this case, it helps us determine how similar the query is to each chunk of text from the PDF.
Generating Responses
With the relevant chunk identified, we can now generate a response:
def get_response(query, context):
    prompt = f"Context: {context}\n\nQuestion: {query}\n\nAnswer:"
    response = llm(prompt)
    return response
This function:
- Creates a prompt by combining the context (relevant chunk) and the user’s query.
- Sends this prompt to our LLaMA2 model.
- Returns the model’s response.
This is where the magic of the Retrieval-Augmented Generation happens. We’re not just relying on the LLM’s pre-trained knowledge, but augmenting it with relevant information from the PDF.

Building the Streamlit App
Finally, let’s put it all together in a Streamlit app:
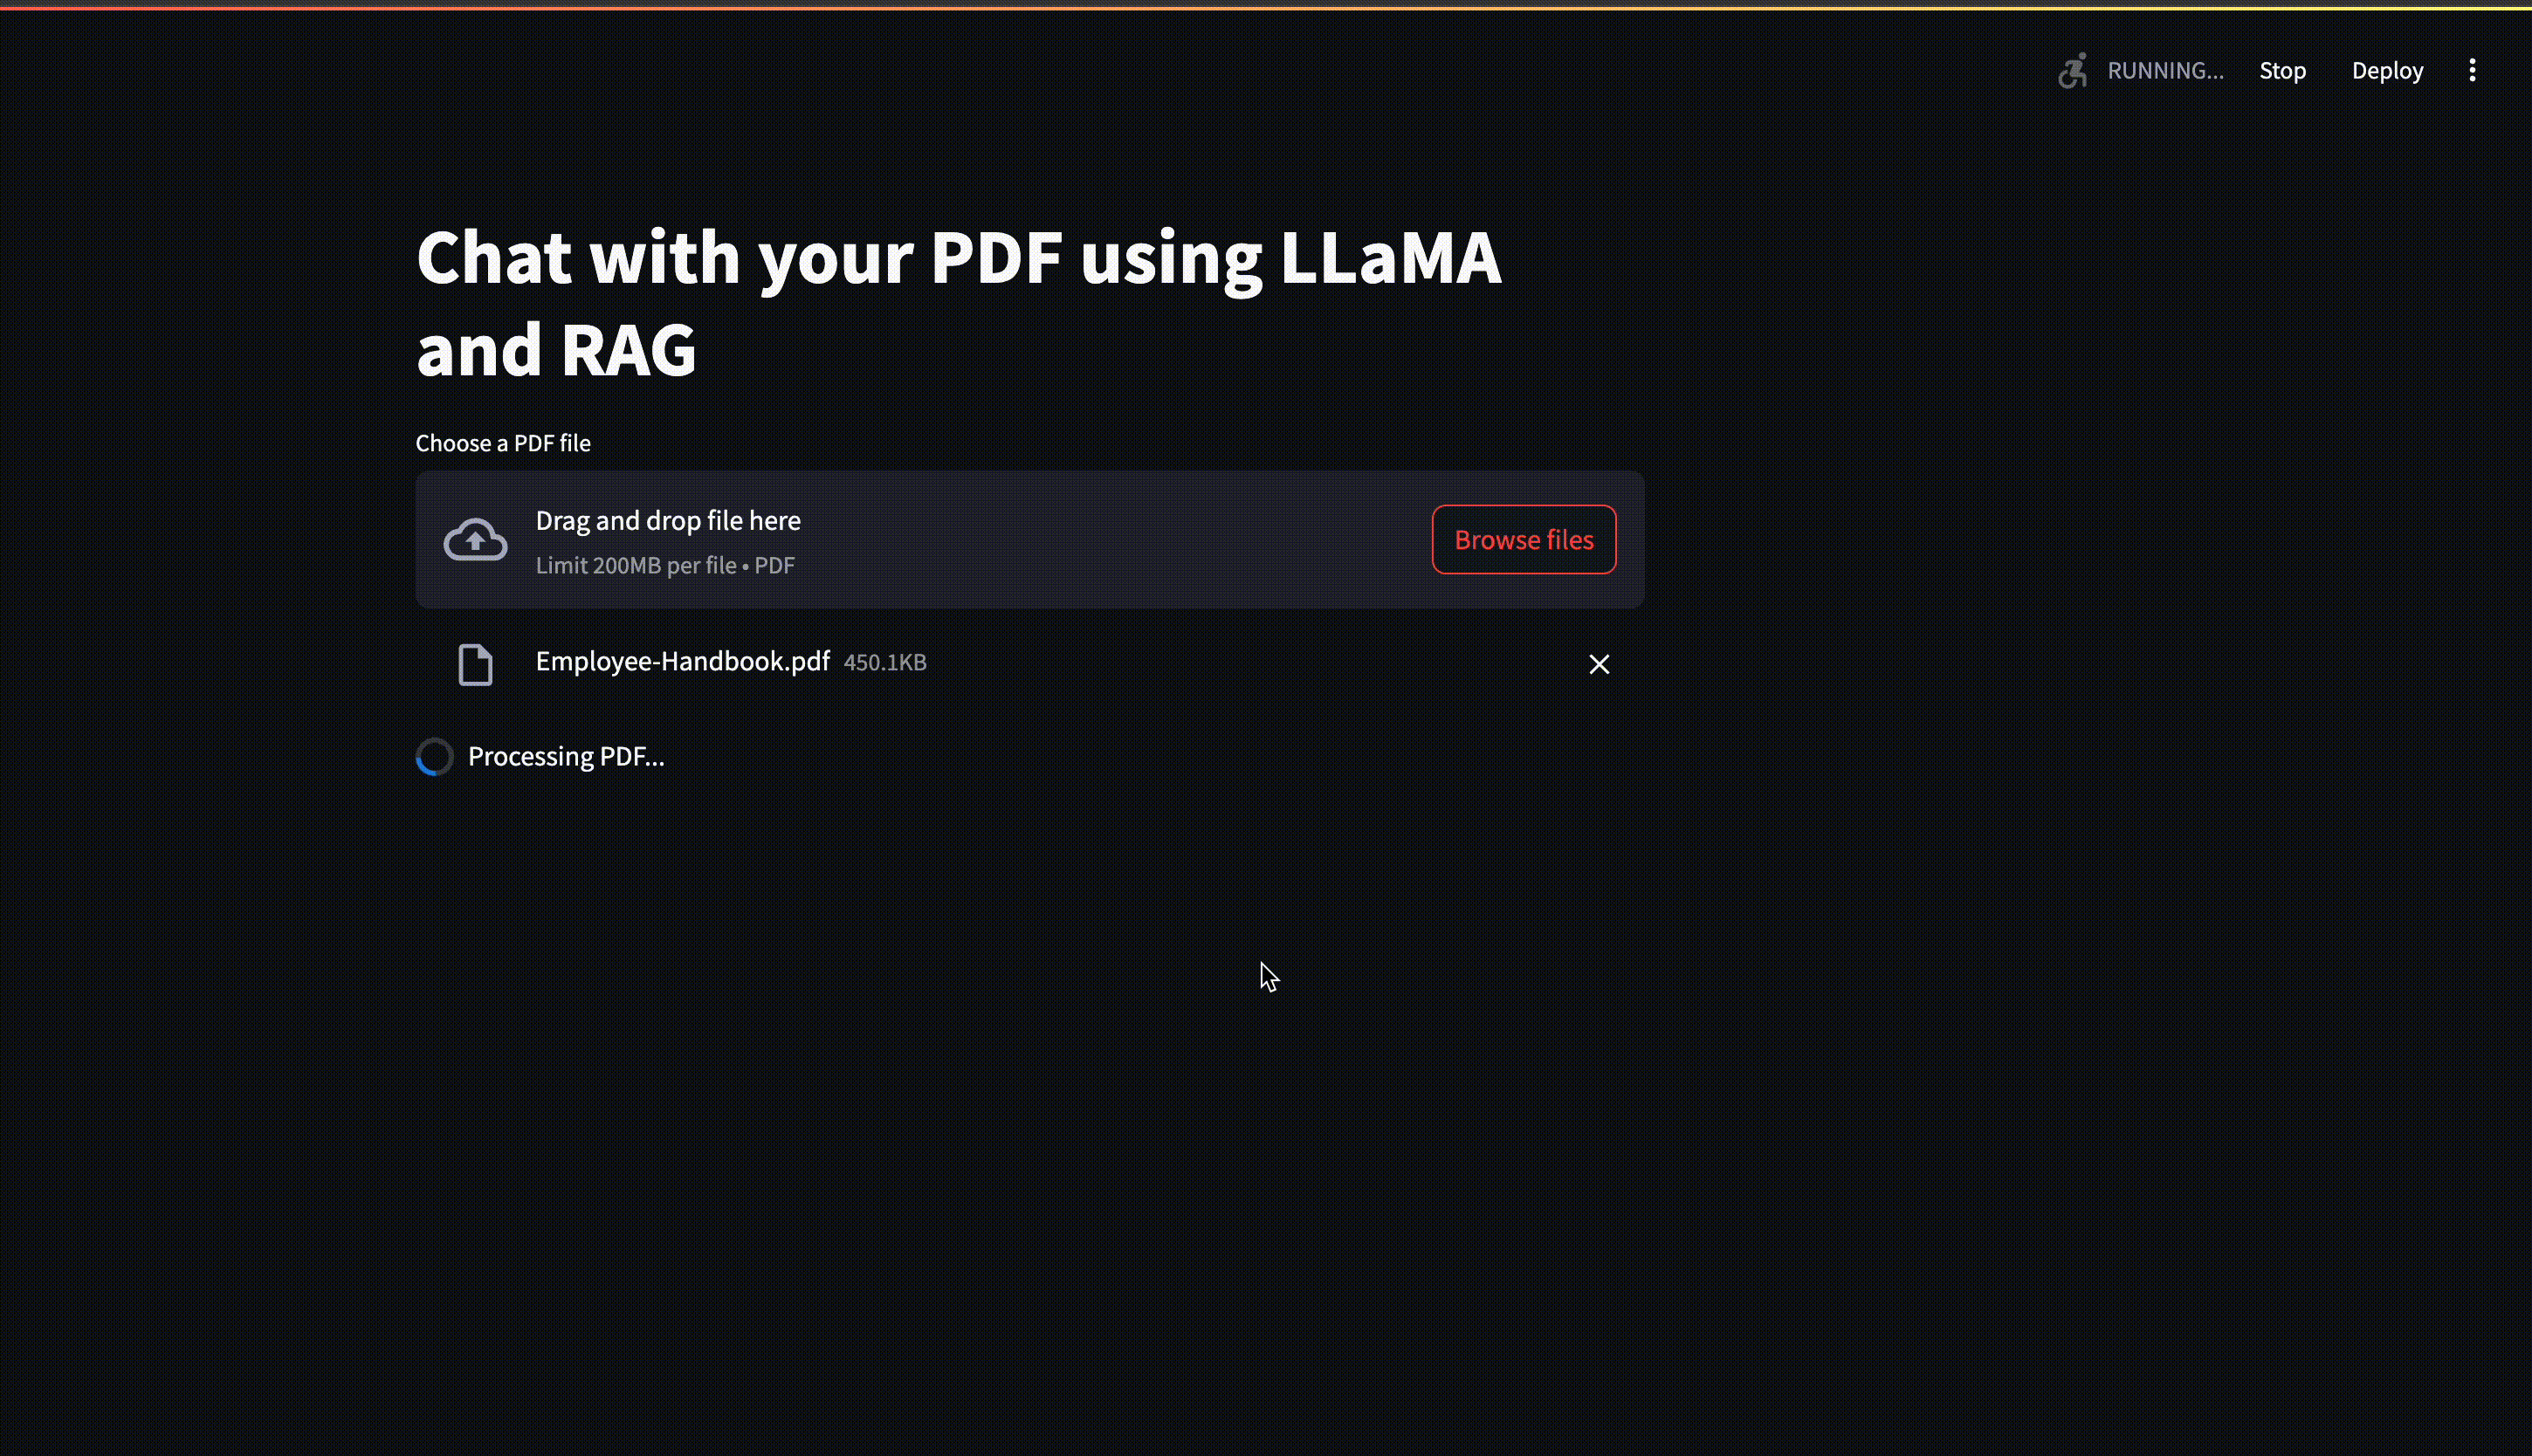
st.title('Chat with your PDF using LLaMA and RAG')
uploaded_file = st.file_uploader("Choose a PDF file", type="pdf")

if uploaded_file:
    # Load the PDF and create embeddings
    with st.spinner('Processing PDF...'):
        chunks = load_pdf(uploaded_file)
        chunk_embeddings = create_embeddings(chunks)
    st.success('PDF processed successfully!')

    # User input for query
    query = st.text_input("Ask your question about the PDF!")

    # Display the response
    if query:
        with st.spinner('Searching for an answer...'):
            relevant_chunk = find_most_relevant_chunk(query, chunks, chunk_embeddings)
            response = get_response(query, relevant_chunk)
        st.write(response)
You should see your chatbot come to life in a new browser window! Upload a PDF file, type in your questions, and see how the chatbot responds based on the content of the PDF.
This Streamlit app provides a user-friendly interface where users can:
- Upload a PDF file
- Ask questions about the content of the PDF
- Receive answers generated by our LLaMA2 model, based on the most relevant parts of the PDF
How It All Works Together
When you run this application:
- The user uploads a PDF file.
- The PDF is processed, split into chunks, and embeddings are created for each chunk.
- When the user asks a question, the system finds the most relevant chunk using similarity search.
- The relevant chunk and the question are sent to LLaMA2 to generate a response.
- The response is displayed to the user.
This process combines the power of retrieval (finding relevant information) with generation (creating a response based on that information), hence the term Retrieval-Augmented Generation (RAG).
Running the Application
To run the application, save your code and use the following command in your terminal:
streamlit run pdf_chatbot.pyThis will start a local server and open the application in your default web browser.
Limitations and Future Improvements
While this chatbot is powerful, it does have some limitations:
- It might struggle with very large PDFs due to memory constraints.
- The quality of answers depends on both the LLaMA2 model and the relevance of the retrieved chunks.
- It doesn’t maintain conversation history, treating each question independently.
Future improvements could include:
- Handling multiple PDFs
- Improving chunk retrieval with more advanced techniques
- Fine-tuning the LLM for specific domains
- Adding conversation history for more context-aware responses
Conclusion
We’ve built a PDF chatbot using LLaMA2, Sentence Transformers, and Streamlit. This chatbot demonstrates the power of combining Retrieval-Augmented Generation (RAG) with large language models.
This project opens up exciting possibilities for document interaction and information retrieval. Imagine being able to chat with any document — from research papers to legal contracts to technical manuals. The potential applications are vast and varied.
We encourage you to experiment with different PDFs and see how the chatbot performs. Try asking various types of questions and see how well it understands and responds to queries about the document’s content.
As you continue to explore and build with AI, remember that the field is rapidly evolving. Stay curious, keep learning, and don’t hesitate to push the boundaries of what’s possible!
Share Your Thoughts and Connect!
Enjoyed this tutorial? Here’s how you can show your support:
👏 Clap for this article! Did you know you can clap up to 50 times? More claps help others discover this content.
💬 Leave a comment with your questions or experiences.
🔗 Connect with me on LinkedIn. I’d love to hear your thoughts on AI and tech!
📢 Share this article with others who might find it useful.
Your engagement helps me create more content like this. Thanks for reading, and happy coding!